The majority of people choose tub reglazing over buying a whole new bathtub. Why? Because a professionally done bathtub refinishing job may make a tub seem as good as new. Additionally, using this method, your customers may maintain their bathtub in place without changing the flooring, tiling, fixtures, or anything else that already exists. Instead, the surrounding surfaces are left in place and covered with masking tape while the job is done.
When refinishing a bathtub, there are several things to take into account. In the sections below, we’ll describe seven easy measures to help your next tub reglazing job be a tremendous success.
Step 1: Prepare Your Workspace
You must set up your workplace appropriately before starting your bathtub repair endeavor. You’ll need to cover all of the nearby surfaces in addition to taking all required safety measures. Turn on the bathroom fan, open a window, and use an industrial fan to send the air from the room outside to maintain good ventilation.
Step 2: Remove Caulk
The overflow plate above the tub drain should be taken off first. Next, cut the caulk where it joins the surround using a utility knife. The caulk may be removed with a putty knife as it comes away gently. (If black markings develop during this procedure, don’t worry; they may be eliminated afterward.)
Note: It’s essential to use a silicone digester to remove the leftover silicone if the caulk you’re removing includes silicone. If you don’t, the tub reglazing work will be ruined.
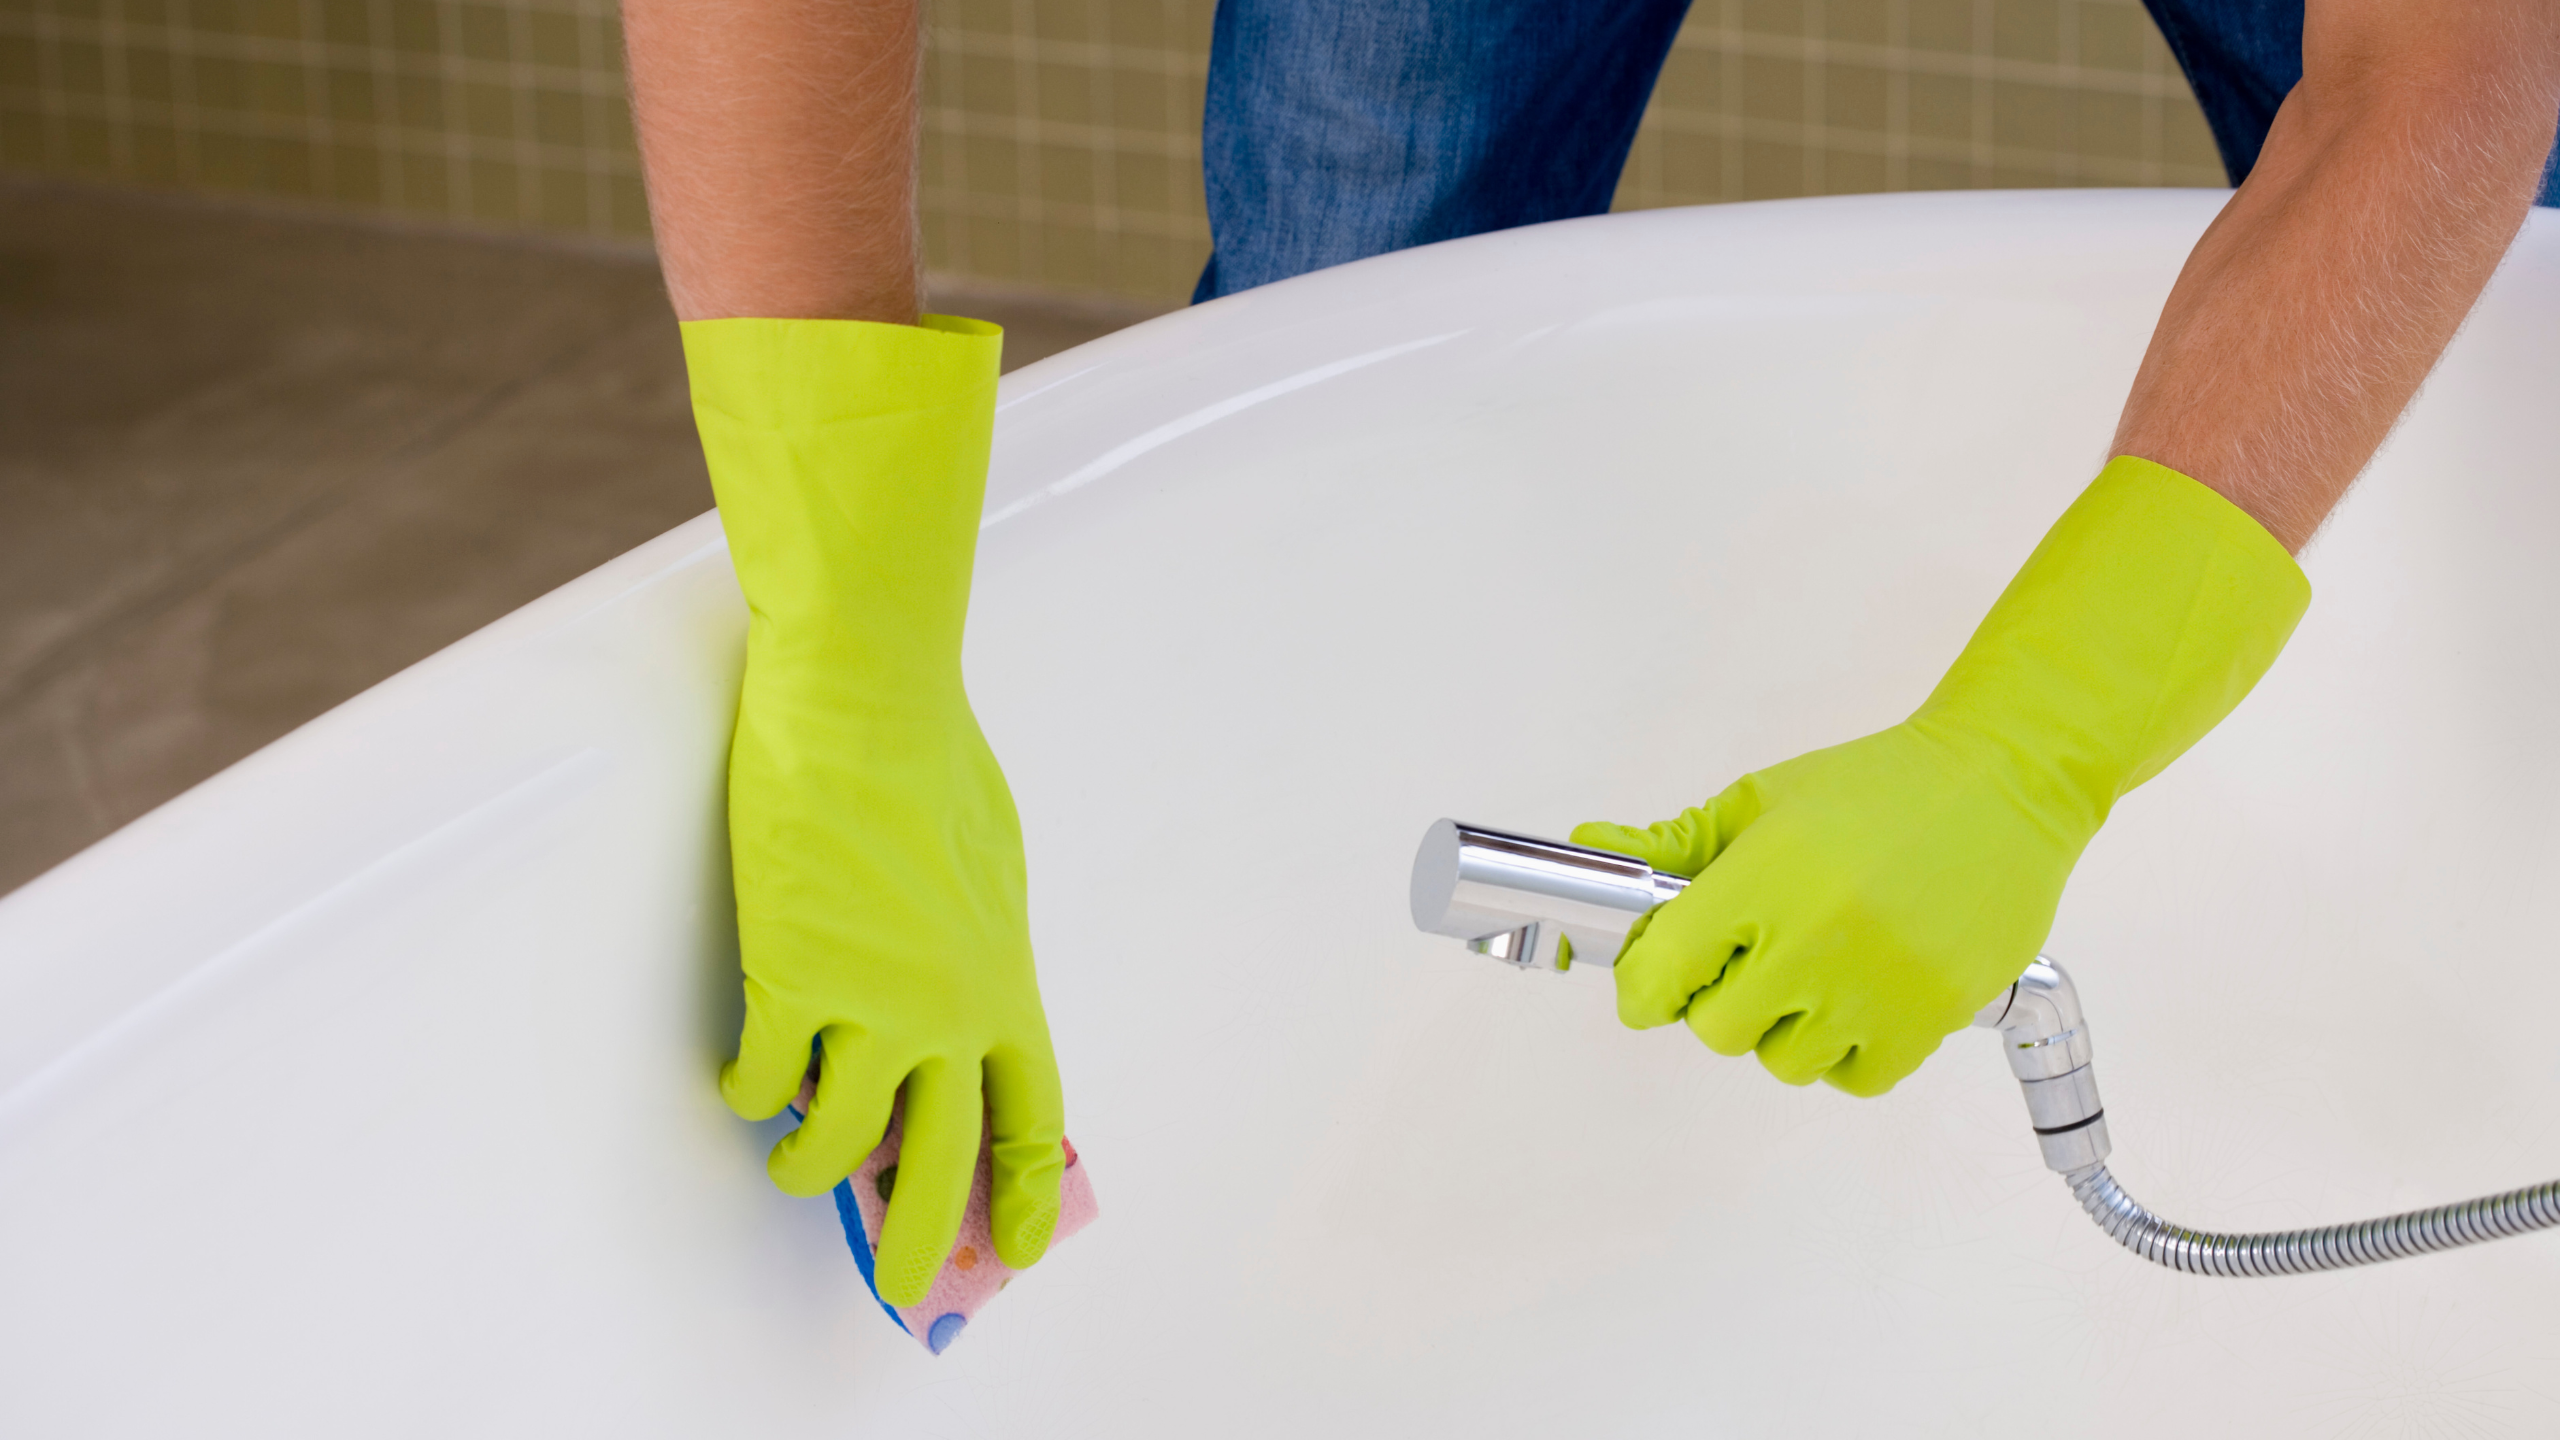
Step 3: Clean the Bathtub Thoroughly
A tub has to be properly cleaned before being refinished. Scrub it down first with a scouring powder and pad. A razor scraper is also an excellent tool for removing soap scum. Pay attention to the space under the soap dish since debris will likely collect there. Finally, please pay special attention to the drain since it is where tub reglazing failures most often occur.
Step 4: Repair Any Damage
The surface of a bathtub must be flawlessly smooth before finishing. Any chips, cracks, or other damage must thus be fixed in advance. To do this, line the tub’s bottom with masking paper and use a putty knife to cover the flaws with filler. Before sanding, let the filler entirely dry. It will be necessary to perform this procedure often to get the desired result.
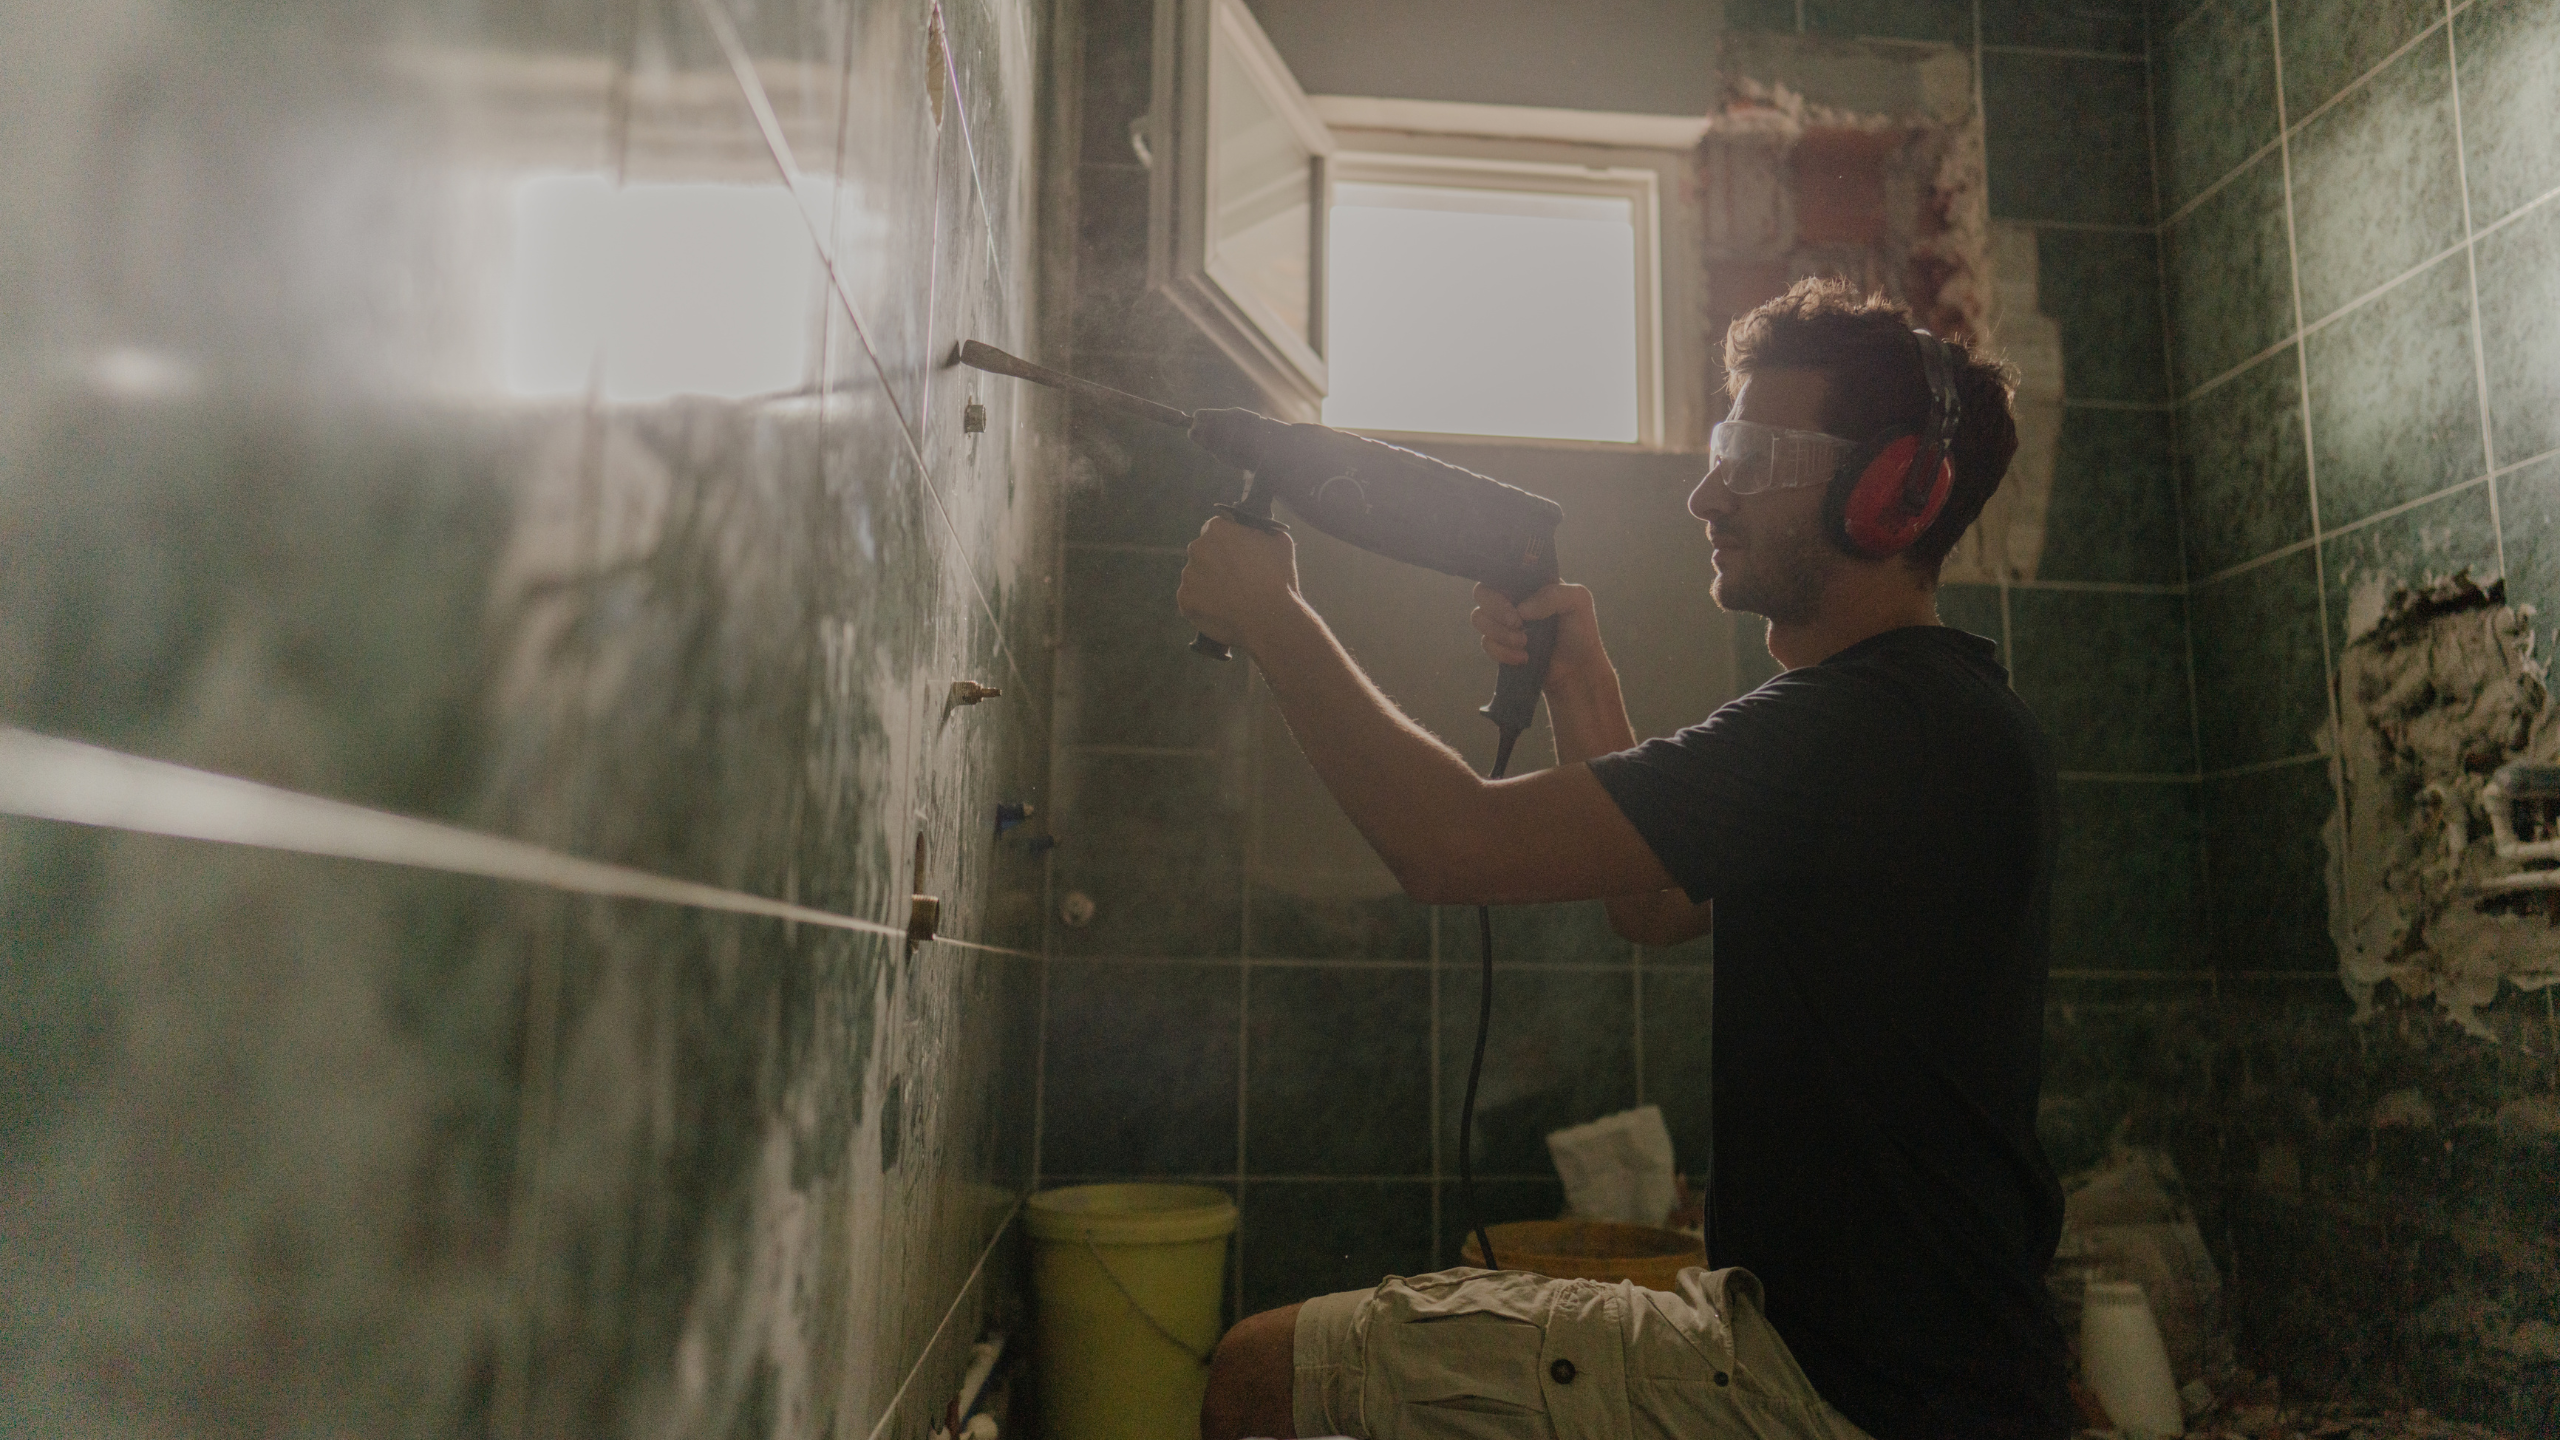
Step 5: Sand the Tub
The tub’s surface has to be sanded when it has dried fully. The cover may be sanded manually or with an electric orbital sander and 120-grit sandpaper. You must use your respirator during this phase. After sanding the whole tub, use a moist paper towel to remove the dust and debris. Be careful to wipe towards the direction of the tub’s back, away from the drain. Applying lacquer thinner or a detailing compound is the last step.
Step 6: Apply Masking Tape
The surrounding flooring and tile around the tub must be covered with masking tape. The drain should also be covered with tape (trim any extra so it doesn’t obstruct the glazing). Place a rubber glove or similar barrier over the faucet and showerhead to stop drips from harming the tub reglazing procedure.
Step 7: Apply Tub Reglazing Product
After completing stages one through six, you are prepared to glaze the piece. Because every bathtub refinishing product is unique, read the directions thoroughly. The masking may be taken off after the tub has dried for many hours. But be careful to finish it slowly. If not, dust may land on the tub’s surface and adhere. Repaint the bathtub with caulk after 24 hours. You may end the project by swapping out the overflow cover at the 48-hour mark.
Find Out More Information About Professional Bathtub Refinishing
EK Philadelphia Tub Reglazing provides all the resources you need, such as classes on bathtub refinishing, to sharpen your tub reglazing abilities. Contact us at any moment to learn more.